Z650 Front Brake Caliper Refurbishment
I've spent the last few days refurbishing the front brake caliper on my 1978 Kawasaki Z650. It was binding and causing drag on the front wheel - enough that it would generate excess heat and all kinds of other problems.
All photos in this post are by me - I tried to remember to take a photo of each step, but I have to admit I did get carried away with the process and forgot a couple !
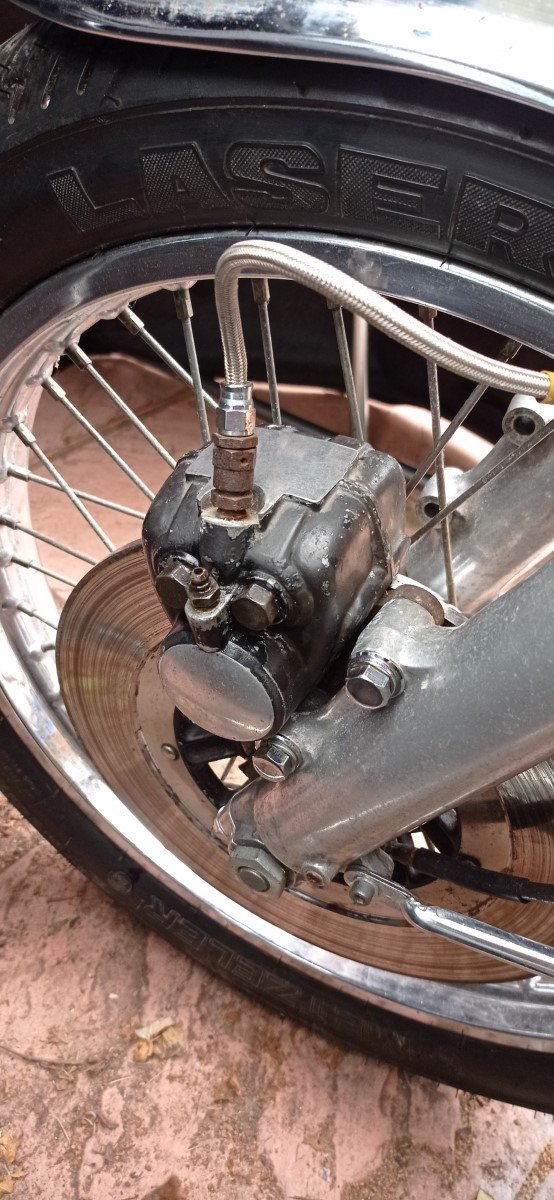
This is the caliper at the start - a bit cosmetically tatty, but it's been basically untouched and functioning fine for decades.
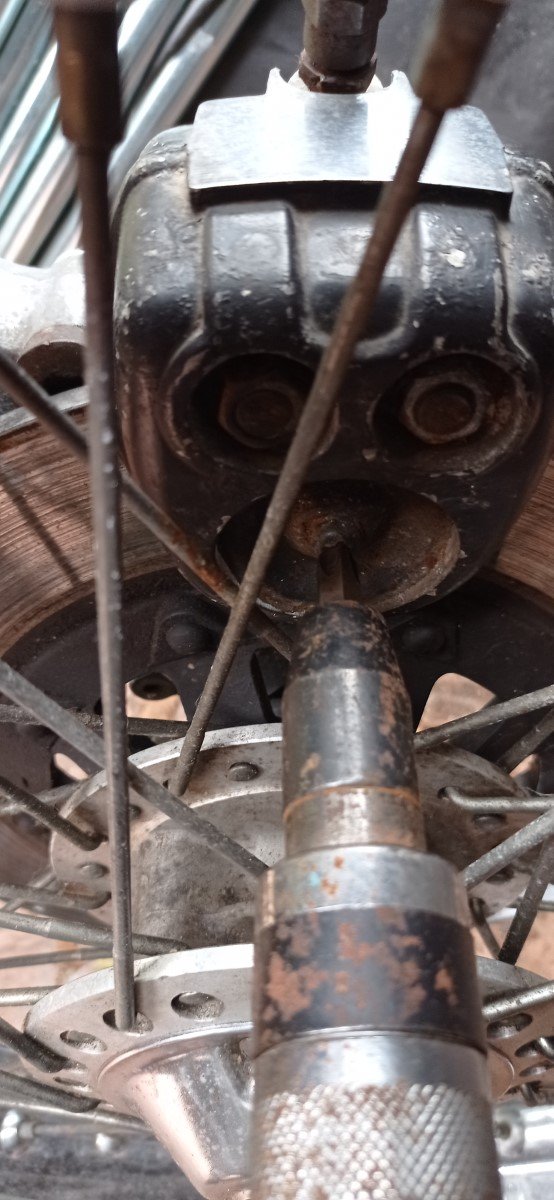
First step is to loosen everything that'll need loosening while it's still fastened to the bike. It makes everything so much easier later on ! The first one is the screw that holds the fixed pad in place.
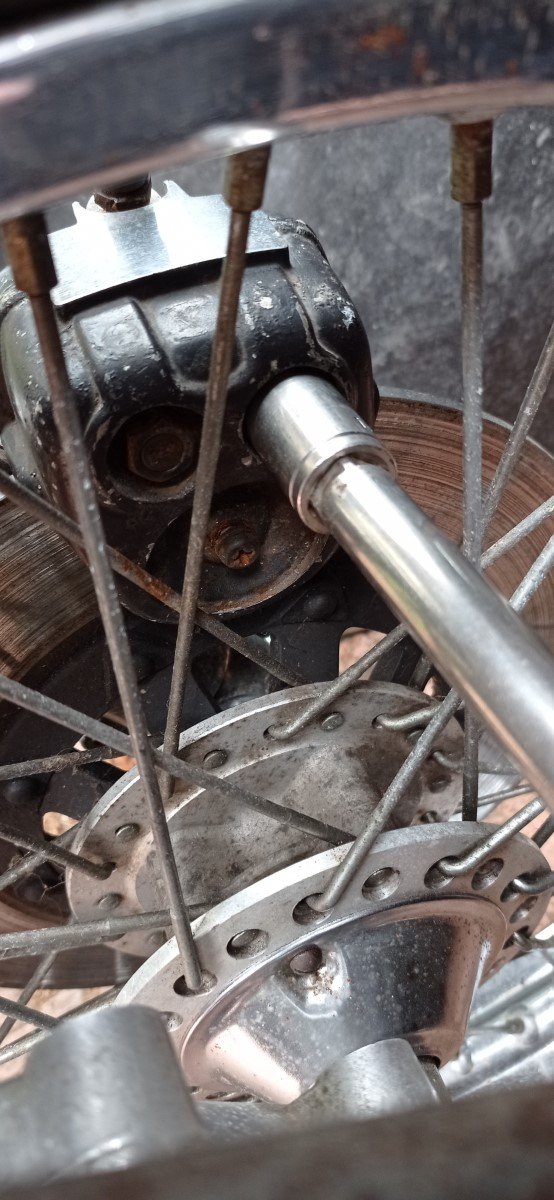
Then the two 14mm nuts that go on the ends of the caliper holder shafts. The bolt head on the other end needs to be held with a 14mm spanner.
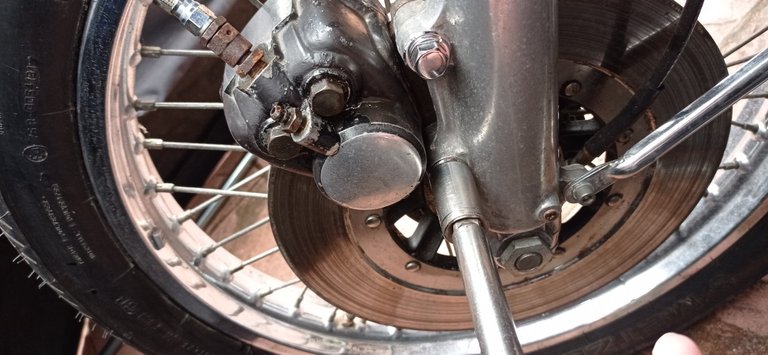
The two chrome bolts that hold the caliper plate to the left hand fork leg.
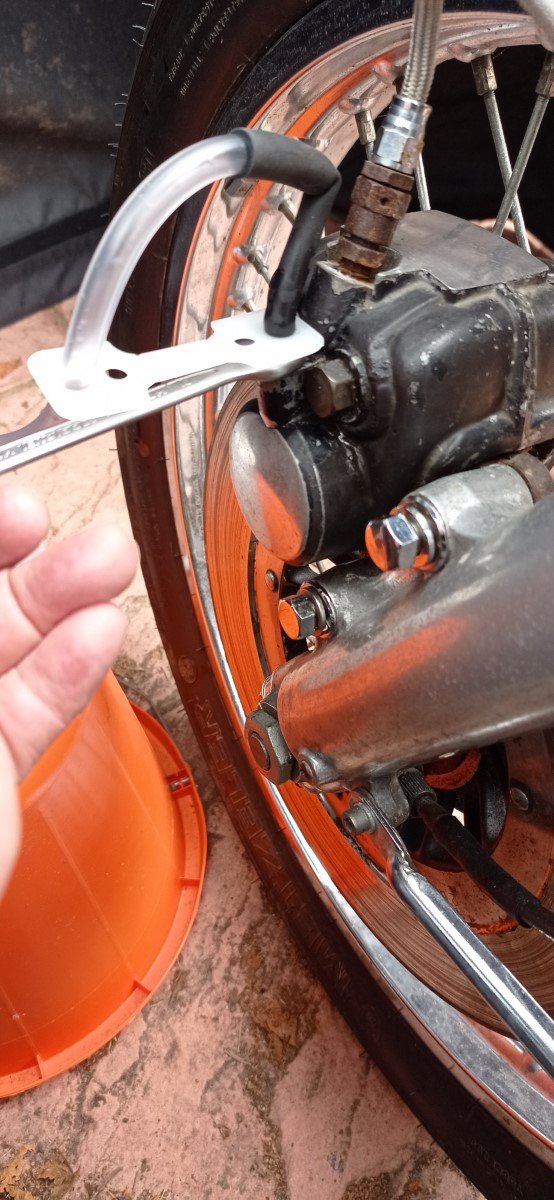
With all the mounting bolts loosened, draining the brake fluid out through the bleed nipple. The next step was to loosen the brake pipe - the fitting was externally rusty, but was something where I couldn't get a replacement in the time available.
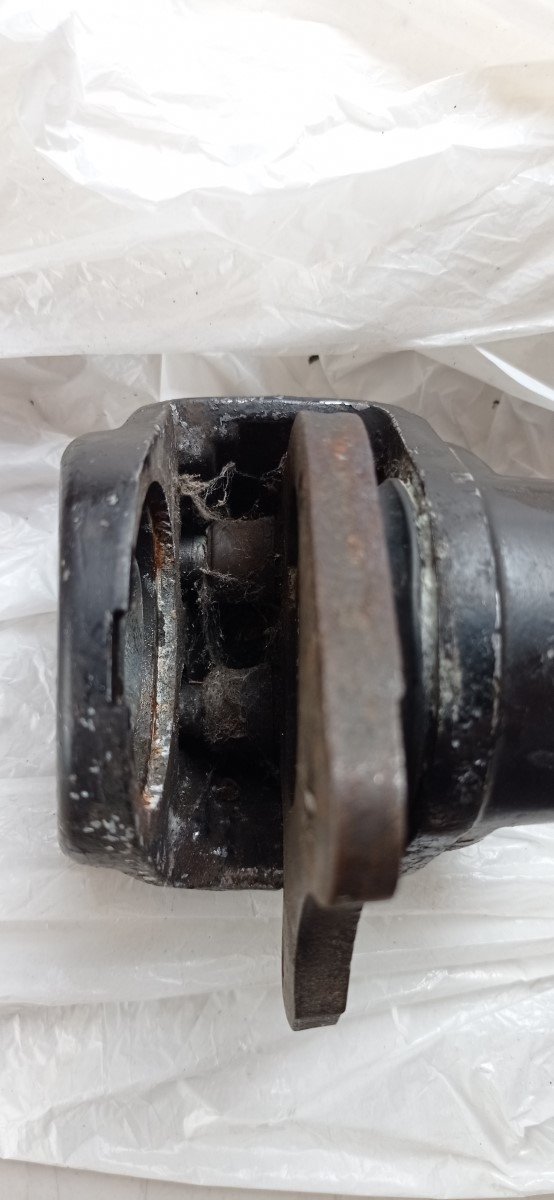
The removed caliper.
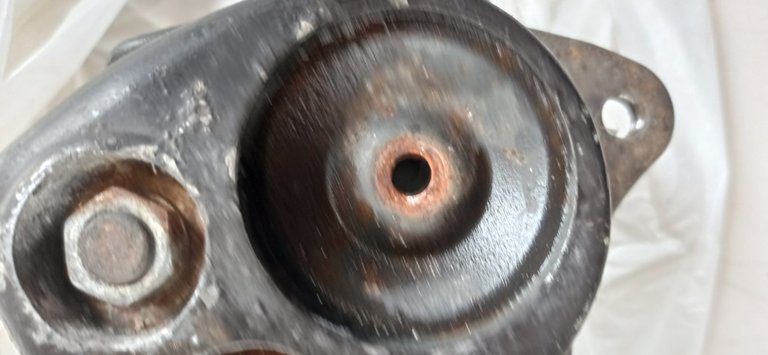
The steel plate that backs the fixed brake pad was pretty seized into it's hole.....
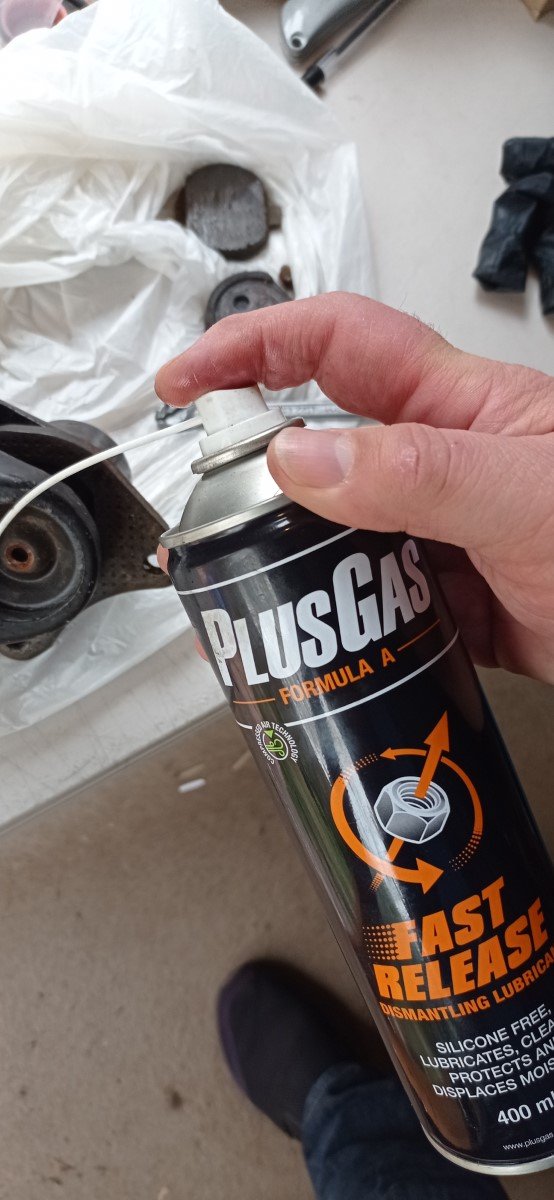
Solved with Plus Gas, my favourite penetrating oil. Sprayed it on, left it over night, and then a judicious application of force removed the plate without damage.
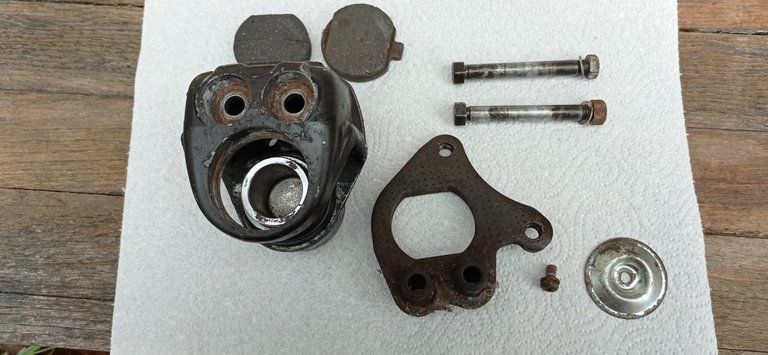
Most of the loose parts laid out. The piston was stuck, and I hadn't removed the rubber caps and o-rings from the caliper plate (the thing with the two bolt holes and a gap in the middle) yet.
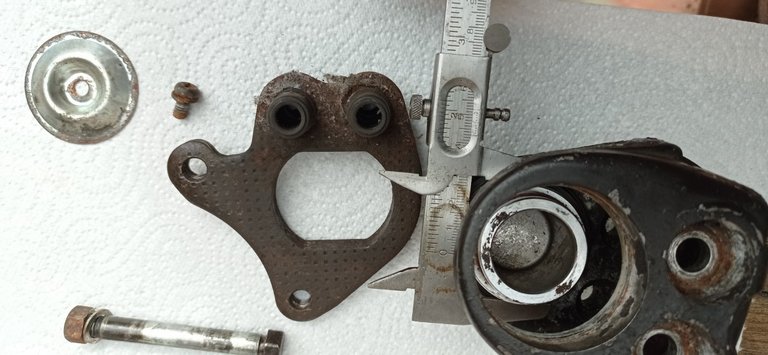
Measuring the piston; in true 1970's Kawasaki style, they did capilers with three different sizes of piston that looked almost identical externally. Turns out I've got the 42.8mm one.
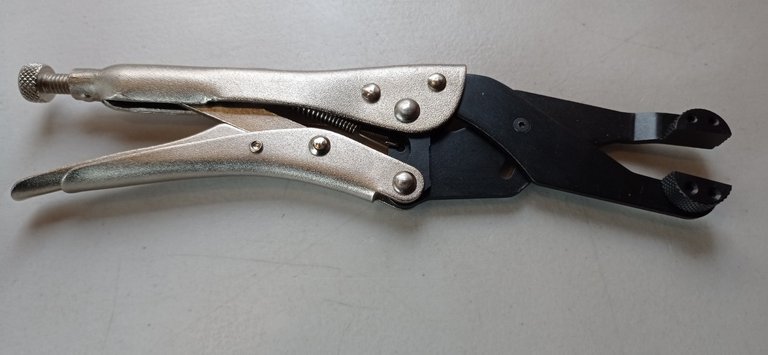
Had to buy a special tool to get the stuck piston out. Basically it's a set of mole grips that press outward and can be locked in place, gripping the inside of the piston hard enough to move it.
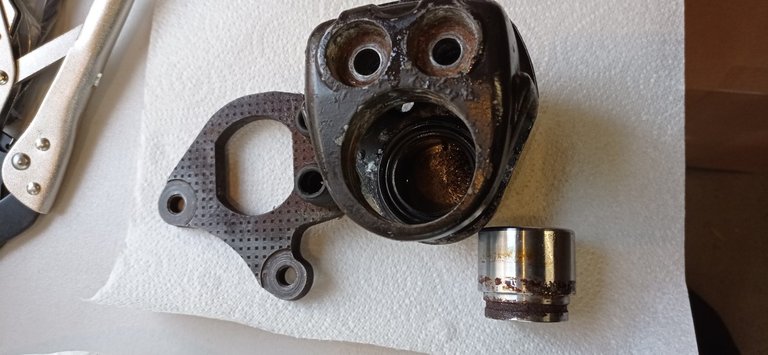
Yeah.... that's a piston that needs replacing....
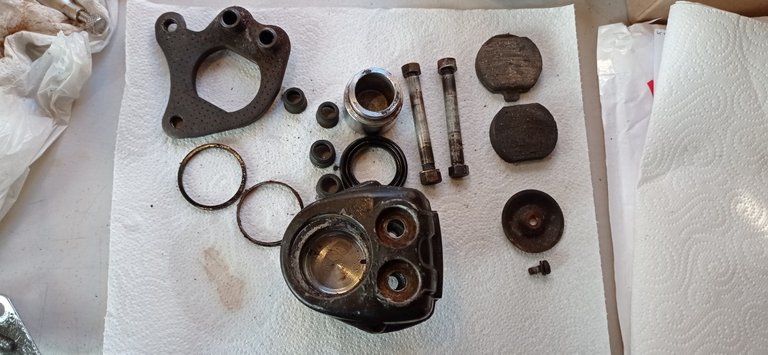
The caliper taken apart with all the bits laid out.
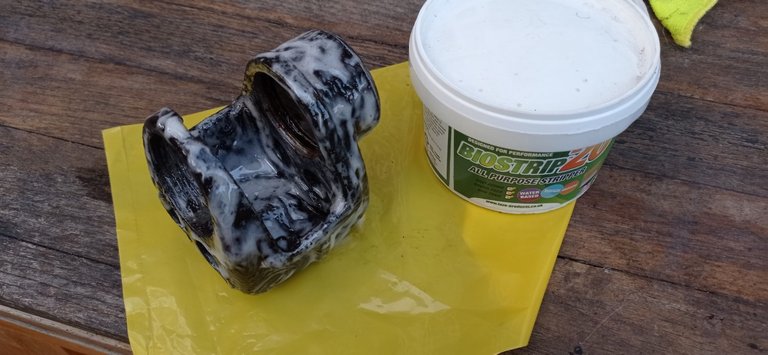
I decided that although it's purely a cosmetic thing I'd strip and repaint the caliper. This turned out to be a mistake. Paint was removed using Biostrip. It's a great paint remover, but a lot of scraping was still involved, because the original paint used by Kawasaki was awesome stuff.
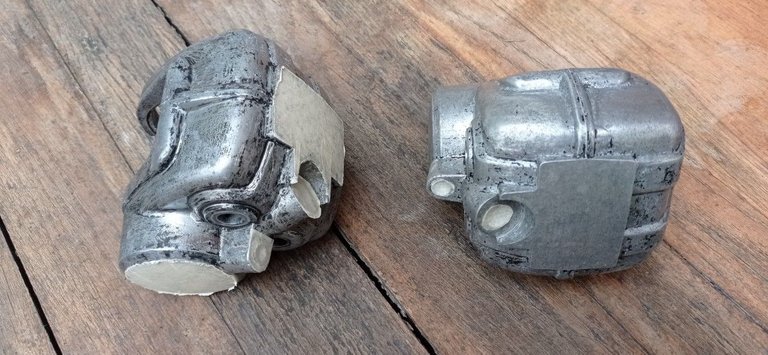
I also stripped the spare caliper I had, to make best use of the expensive caliper paint I'd bought. Here are both calipers masked up ready to spray.
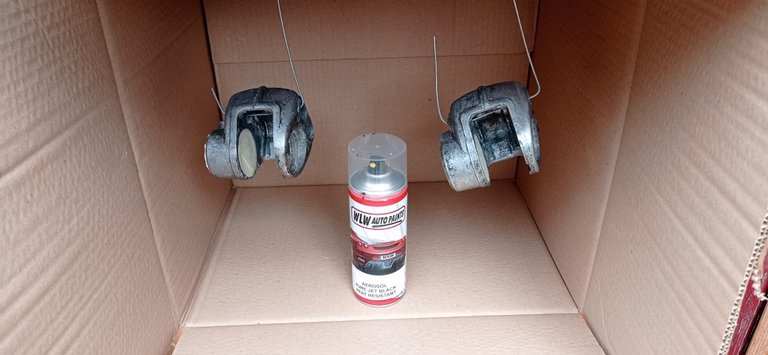
The calipers hung up together with the paint I'd bought. Note the high-end spray booth, worthy of patenting and selling on Wish or Temu 😉
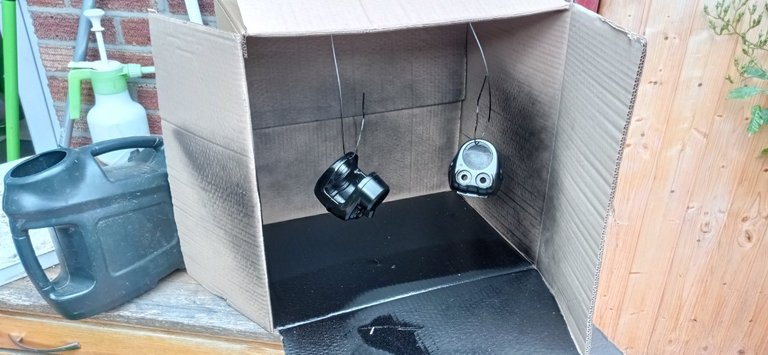
After two coats of paint. Shiny !
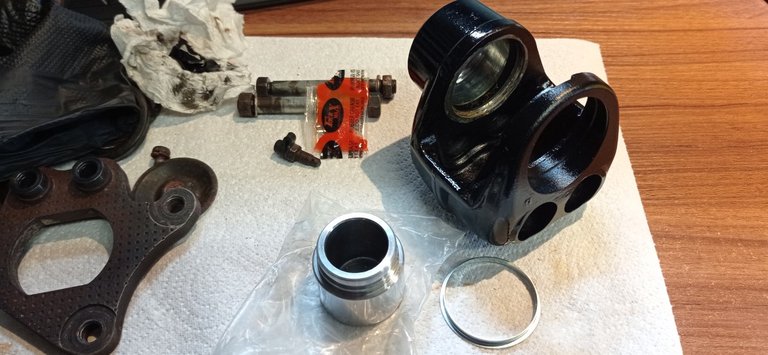
The repainted caliper, together with the new piston and dust ring. You can see the cylinder in the caliper where the piston goes, which has been fitted with a wide fluid seal that I've given a quick wipe of special high temperate rubber grease (the red goo in the packet).
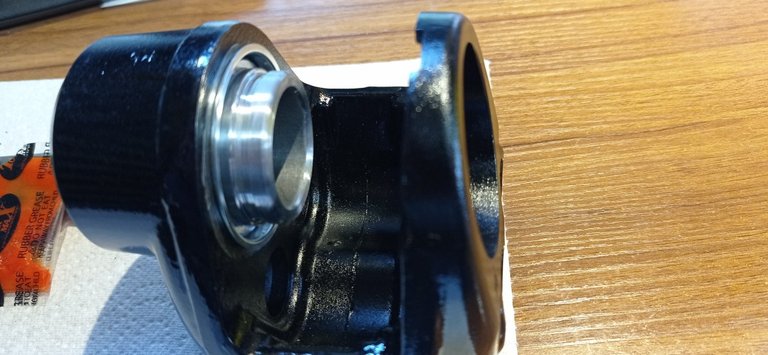
The piston slid back in easily. Note also the dust ring; it pushes in with a gap between it's lip and the caliper body. The lip is designed to hold one edge of the dust seal in place to stop crud getting inside.
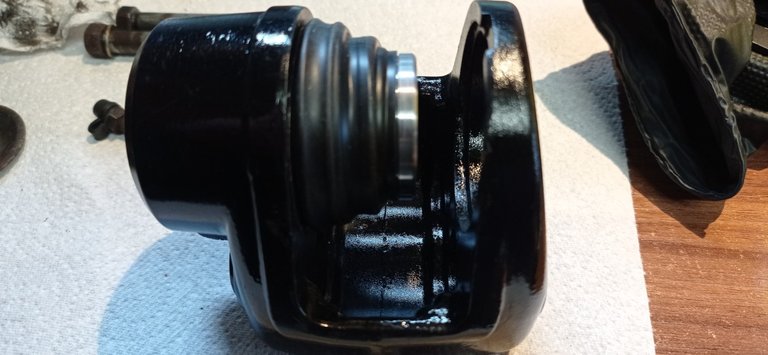
The dust seal fitted. It was an actual pig to get the bottom edge under the lip ! The piston here is pulled back out a little way, just to make it easier to fit the seal.
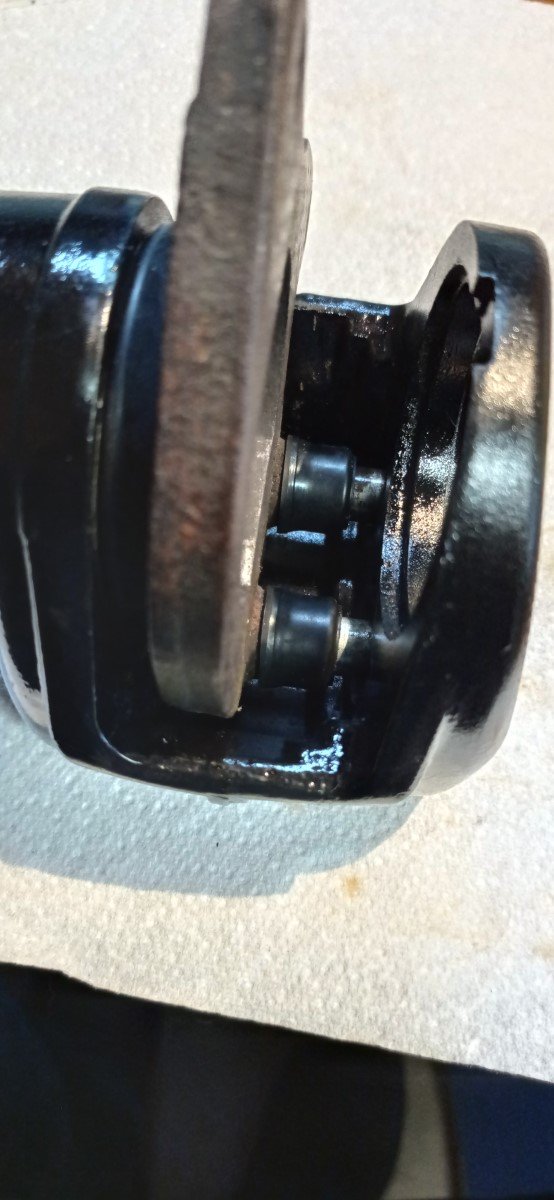
This is the view from below of the caliper plate fitted. It's a tight fit, and has to be kind of rotated into the caliper behind the piston. New rubber caps were fitted, and there are also four o-rings beneath them.
The idea is that the shafts which link the plate to the caliper run through a bath of grease so they move freely. The plate is fixed, and the caliper slides back and forth along the shafts by a millimetre or three when the brake is applied.
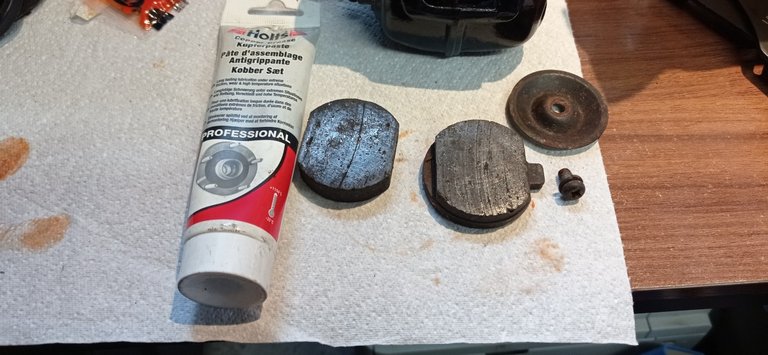
The brake pads ready to go back in. Thy look a little scored, but they've bedded to the brake disk and there is plenty of life left in them. The one on the right is the fixed pad, the other floats inside the gap in the caliper plate with the piston pushing onto the back of it.
The copper grease is essential; it just needs a tiny smear on the back of each pad, being very careful not to get any on the pad surface, and without it the brakes will squeak terribly. Sadly I couldn't get another plate for the fixed pad, but I believe the place I get my spares from should have them back in a few weeks - then I can order up the bits to rebuild my spare caliper as well.
This is the last of the photos I took. After that it was just a case of bolting it all back together, filling it with brake fluid and bleeding the air out. That was the only point where I discovered an annoying problem; it turns out the specialist brake caliper paint I'd bought at vast expense isn't actually resistant to brake fluid....
So apart from messing up a small patch of the new paintwork, the rest of the job is fine and the front wheel doesn't bind any more, which was the point of the whole task.
Nice! I did not know you were so handy with the mechanical!
Cheers ! I'm not too bad with mechanical things. Totally rubbish when it comes to anything electrical though, lol. It helps I've had the bike for around 40 years, so I know it pretty well.....
!BBH
!LOLZ
lolztoken.com
He told me to stop going to those places.
Credit: benthomaswwd
@zakludick, I sent you an $LOLZ on behalf of alonicus
(1/6)
NEW: Join LOLZ's Daily Earn and Burn Contest and win $LOLZ
Practice makes perfect I guess
Wow, you did a good job.
Thank you ! It's actually quite therapeutic taking old worn out bits and refurbishing them back to good condition 😀
!BBH
!PIZZA
$PIZZA slices delivered:
@alonicus(1/5) tipped @antonellacol
Come get MOONed!
This was detailed enough, you got all the right shots and you really got this mechanical thing in you.👏👏
Thank you ! I've found that Hive is a great way to write up the jobs I've done on the bike. It might help anyone else with a similar issue, but more importantly it means I can refer back to it if I have to repeat the job any time in the future 😀
Right! Everyone gets to benefit.